
Motorcycle Restoration Decals — The Final Step
Reproduction decals for the final stage of a classic Kawasaki restoration. Checked against original factory reference for the specific model and year. Made in Norfolk.
Why the final step matters
A restoration is a long game. Most of the work happens on parts a casual viewer never sees. The frame, the wiring, the carbs, the timing. By the time the decals go on, the bulk of the project is done.
That's also where small details show up most clearly. Wrong typeface weight on the tank. Off colour values for the model year. Gloss that fights the lacquer underneath. You can see it straight away if the decal is wrong.
Made for the model year
We work from original factory reference for each set in the range. Different model years carry different decal placements, different colour values, different graphic weights — sometimes within the same model line. We track those differences set by set, model year by model year. Sticking to Kawasaki, and to one generation of bikes, means we can spend the time on those details.
Factory reference accuracy — what we check
Every set in the range is checked against original factory reference for the specific model and year before it leaves the workshop. The checks aren't quick visual — they cover specific dimensions:
- Colour values — measured against the original, not against a generic Pantone reference. The same Kawasaki red appears in three or four different mixes across the H1, H2, S, and KH range.
- Typeface and weight — the original badge artwork was redrawn for each model line. We work from the printed reference, not from a digital approximation.
- Position — decal placement on a '72 H2 isn't identical to a '74 H2. Where the factory moved the badge year-to-year, we track it.
- Gloss level — the surface finish of the original vinyl, calibrated so it sits right under 2K clear coat.
Sticking to Kawasaki, and to one generation of bikes, is what makes the time on those checks possible.
From the trail and enduro line
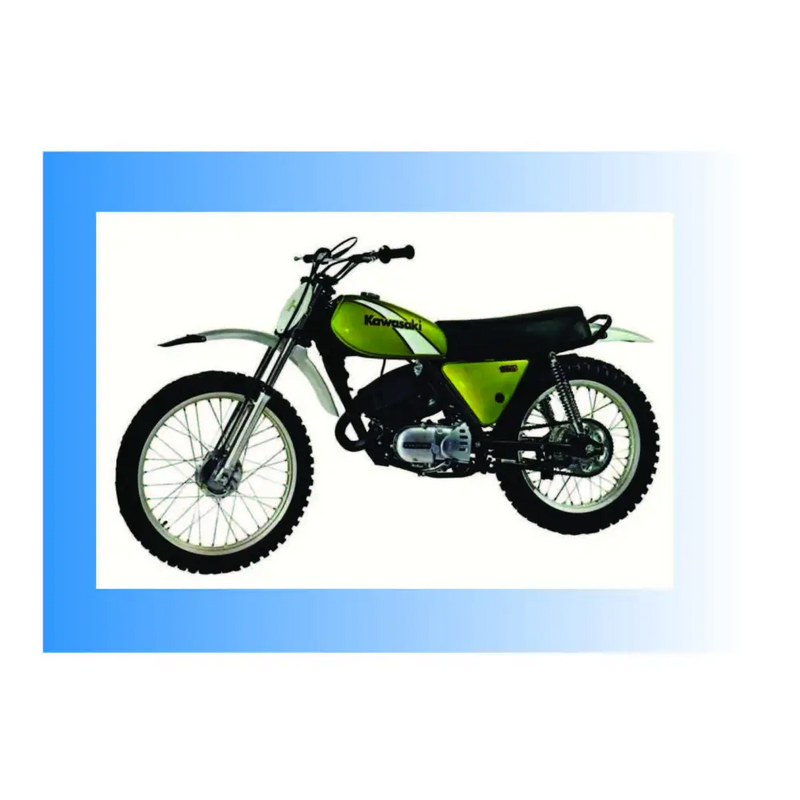
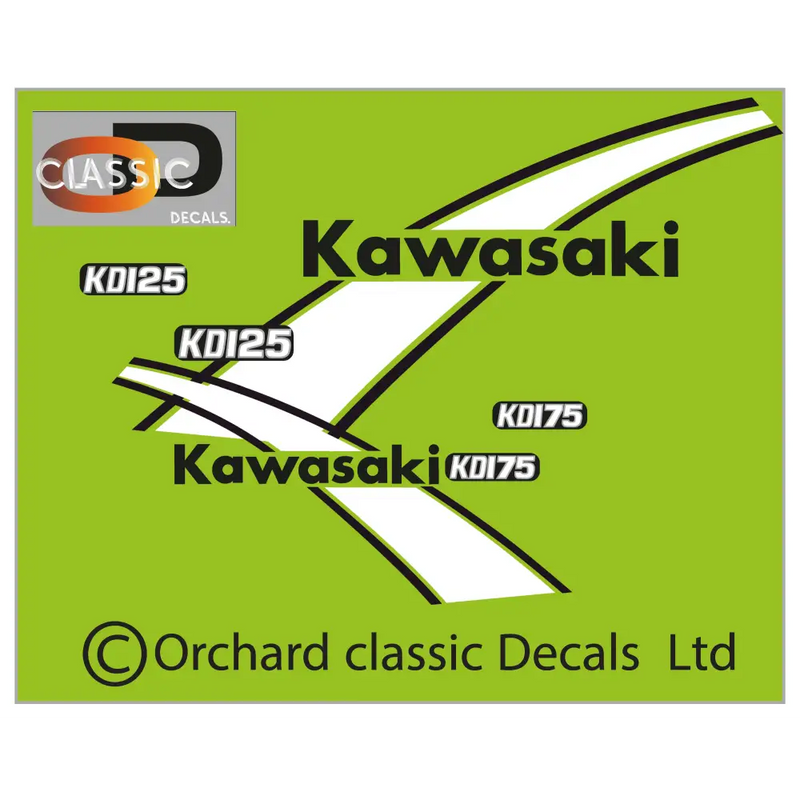
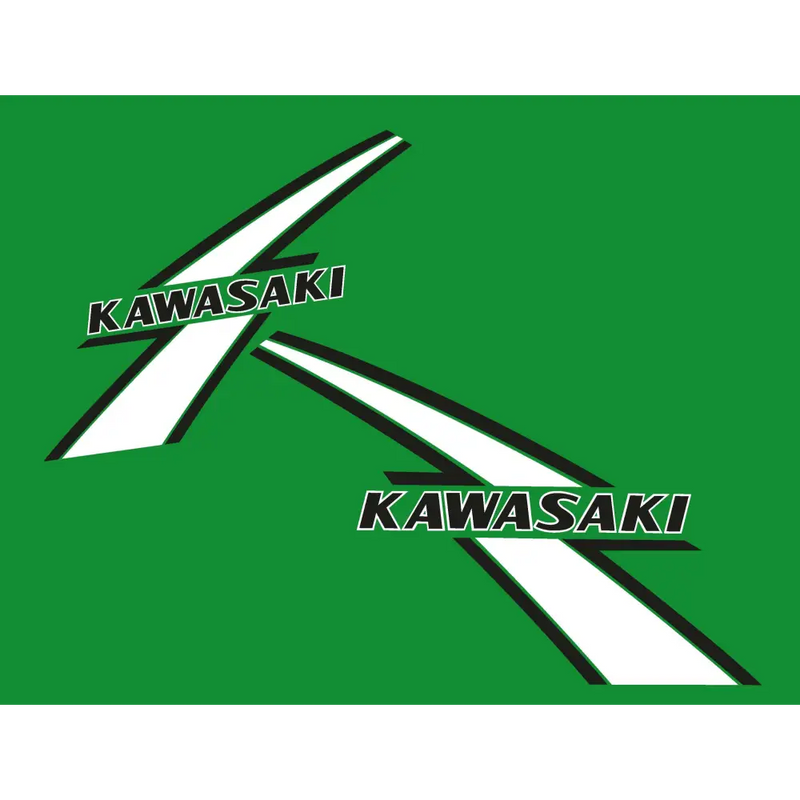
Range
- Triples (road) — H1 500, H2 750, S1 250, S2 350, S3 400, KH 250 / 400 / 500
- Trail and enduro — KE, KT, KX, KD, KDX, KMX
- F series — earlier two-stroke singles and trail bikes
- KS — street and commuter singles
Fifty-four sets, £55–68 per set. UK and Europe shipping.
Material and installation
Gloss self-adhesive polymeric vinyl with a white permanent adhesive (low initial tack). Printed on Roland TRUEVIS solvent-ink machines — waterproof, longevity proven. Clear-coat with a 2K product once applied, to protect against petrol spills, sun, and handling.
Every order includes a free printed sample for clear-coat testing. Always test first — some products can react with the solvent ink, and it's better to find out on the sample.
For the full installation method — wet method, tools, how to handle creases or bubbles — there's a step-by-step guide in our installation section.
When in the build to apply them
The decals go on after the paint is fully cured and before the final clear coat. That's the standard order: paint, decal, clear coat. The decals need to sit on a hard surface (the cured base coat or colour coat), and they need to be sealed from above (the clear coat protects them from petrol, sun, and handling).
If the bike is being assembled and ridden without a final clear coat over the decals — a rolling restoration — they'll still hold up for a season or two on their own adhesive. For a bike going to be shown, kept clean, or stored long-term, the clear coat is what makes the difference between a five-year decal and a fifteen-year one.
Working with a restoration painter
If your restoration painter is doing the bodywork, hand the decals to them at the same time as the tank goes for paint. Most will be familiar with applying pre-printed vinyl under a 2K clear coat — but there are a few things worth flagging up front:
- Tell them it's polymeric vinyl with solvent ink. The application method, substrate, and clear-coat compatibility differ from older paper-and-glue transfer decals — important to flag if your painter is used to those. Modern self-adhesive vinyl is the right framing.
- Pass on the free printed sample. Their clear-coat brand may not be one we've tested with — let them spray a test panel before committing.
- Confirm the clear-coat type. 2K is the standard. Single-pack and water-based clears can react with the solvent ink — at minimum they hold a sample test before going any further.
- Discuss decal positioning before paint goes down. If the bike is a model where original placement varies year-to-year, the painter will want a reference photo — happy to send one over for any model in the range.
If your painter has questions before they start, they can write in directly. We'd rather answer one email up front than hear about a problem afterwards.
Don't see your model?
Send us the model and year. We'll quote a custom set, or let you know when this one's coming. Custom-quote enquiries get a direct reply within a working day. We won't quote a set unless we're sure we can hit the original factory spec — if a model is outside what we can do, we'll say so rather than commit to something we can't deliver. If the set is in the queue but not yet released, we'll tell you when it's likely to land so you can plan the rest of the build accordingly.
For custom sets or anything not listed: send us a message.
See also
- Classic motorcycle decals — the full Kawasaki range.
- Vintage motorcycle decals — older sets, model-year specific.
- UK-made motorcycle decals — shipping from Norfolk, no import duties.

Thanks for taking a look. We're a small workshop in Norfolk, making these by hand. Any questions, or a model you don't see listed — just drop us a line.
— Valerie and Andy at Orchard Classic Decals Ltd